
Welcome to a frozen treat adventure where we blend the natural sweetness of bananas with the creamy magic of the Ninja Creami. Whether you’re an ice cream aficionado or just someone with a sweet tooth, this recipe is your ticket to a scoop of joy. Perfect for a sunny afternoon or a cozy movie night, this banana ice cream is both nostalgic and delightful, bringing back childhood memories of simple pleasures. So, grab your blender and let’s churn up happiness in a bowl!
Ingredients
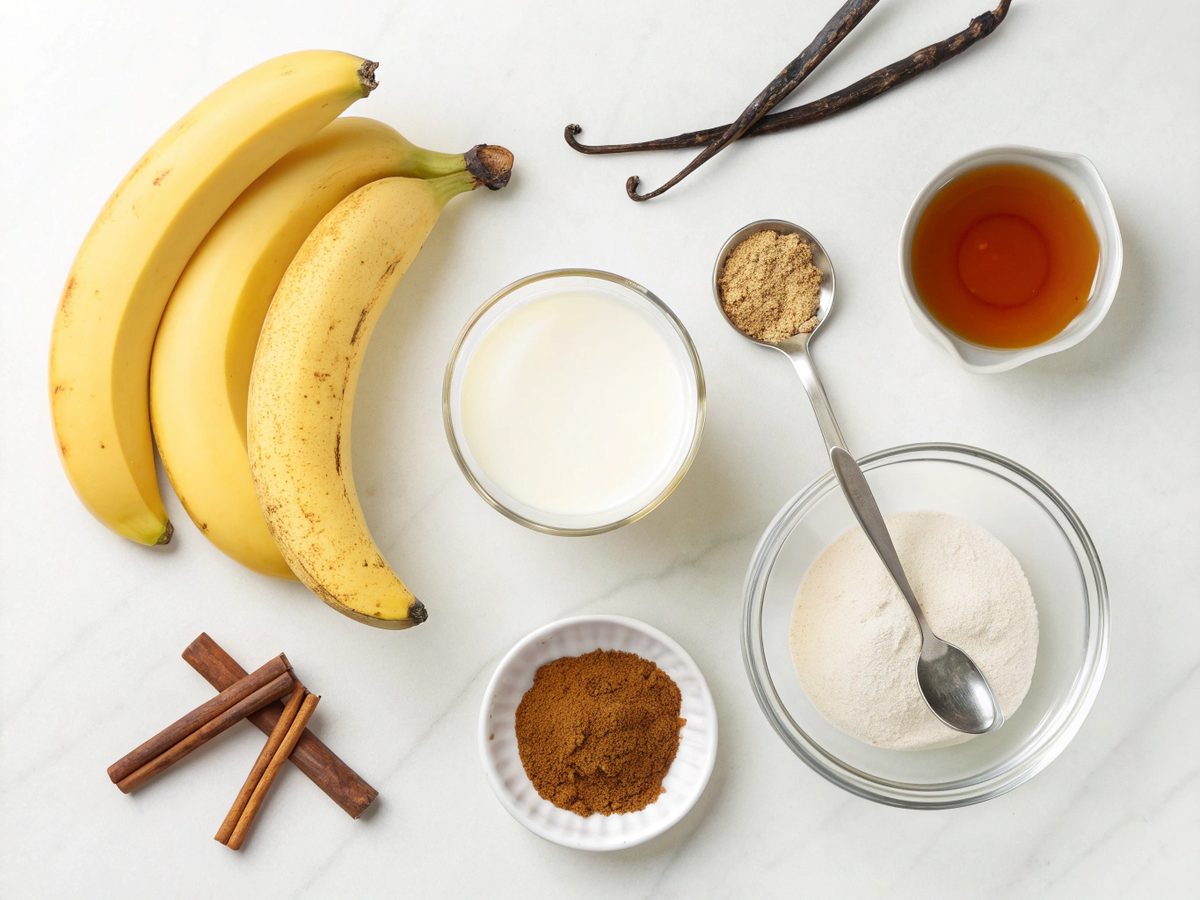
- 3 ripe bananas
- 1 cup whole milk or plant-based milk
- 1 tablespoon honey or maple syrup
- 1 tablespoon vanilla extract
- Optional: a pinch of cinnamon
Equipments
- Ninja Creami Ice Cream Maker
- Measuring cups and spoons
- Blender or food processor
- Mixing bowl
How to Make Deliciously Creamy Ninja Creami Banana Ice Cream – Step By Step
Step 1: Prepare the Bananas
Begin by peeling and slicing the bananas into 1-inch pieces. This allows for even blending, ensuring that the bananas achieve that creamy texture when frozen. Place the sliced bananas on a baking sheet lined with parchment paper. Freeze them for at least 2 hours, or until they are completely solid. Freezing the bananas solid is crucial for creating a smooth ice cream texture without any banana chunks.
Step 2: Blend the Base
In your blender or food processor, combine the frozen banana slices, milk, sweetener of choice, and the vanilla extract. If you’re looking to spice things up, add a pinch of cinnamon. Blend until the mixture is smooth and creamy, pausing to scrape down the sides as needed. The mixture should resemble a thick, creamy smoothie.
Step 3: Churn in the Ninja Creami
Pour the blended banana mixture into the Ninja Creami pint container. Smooth the top with a spoon or spatula to create an even surface. Place the lid on the container and insert it into the Ninja Creami machine. Set the machine to the ice cream function and let it work its magic. This process usually takes about 5 minutes, churning the mixture into a silky, soft ice cream.
Step 4: Adjust Texture (if needed)
If you prefer a firmer texture, run the ice cream through another churn cycle. Alternatively, if it’s too firm, you can add a tablespoon of milk and run the re-spin function on your Ninja Creami to soften it.
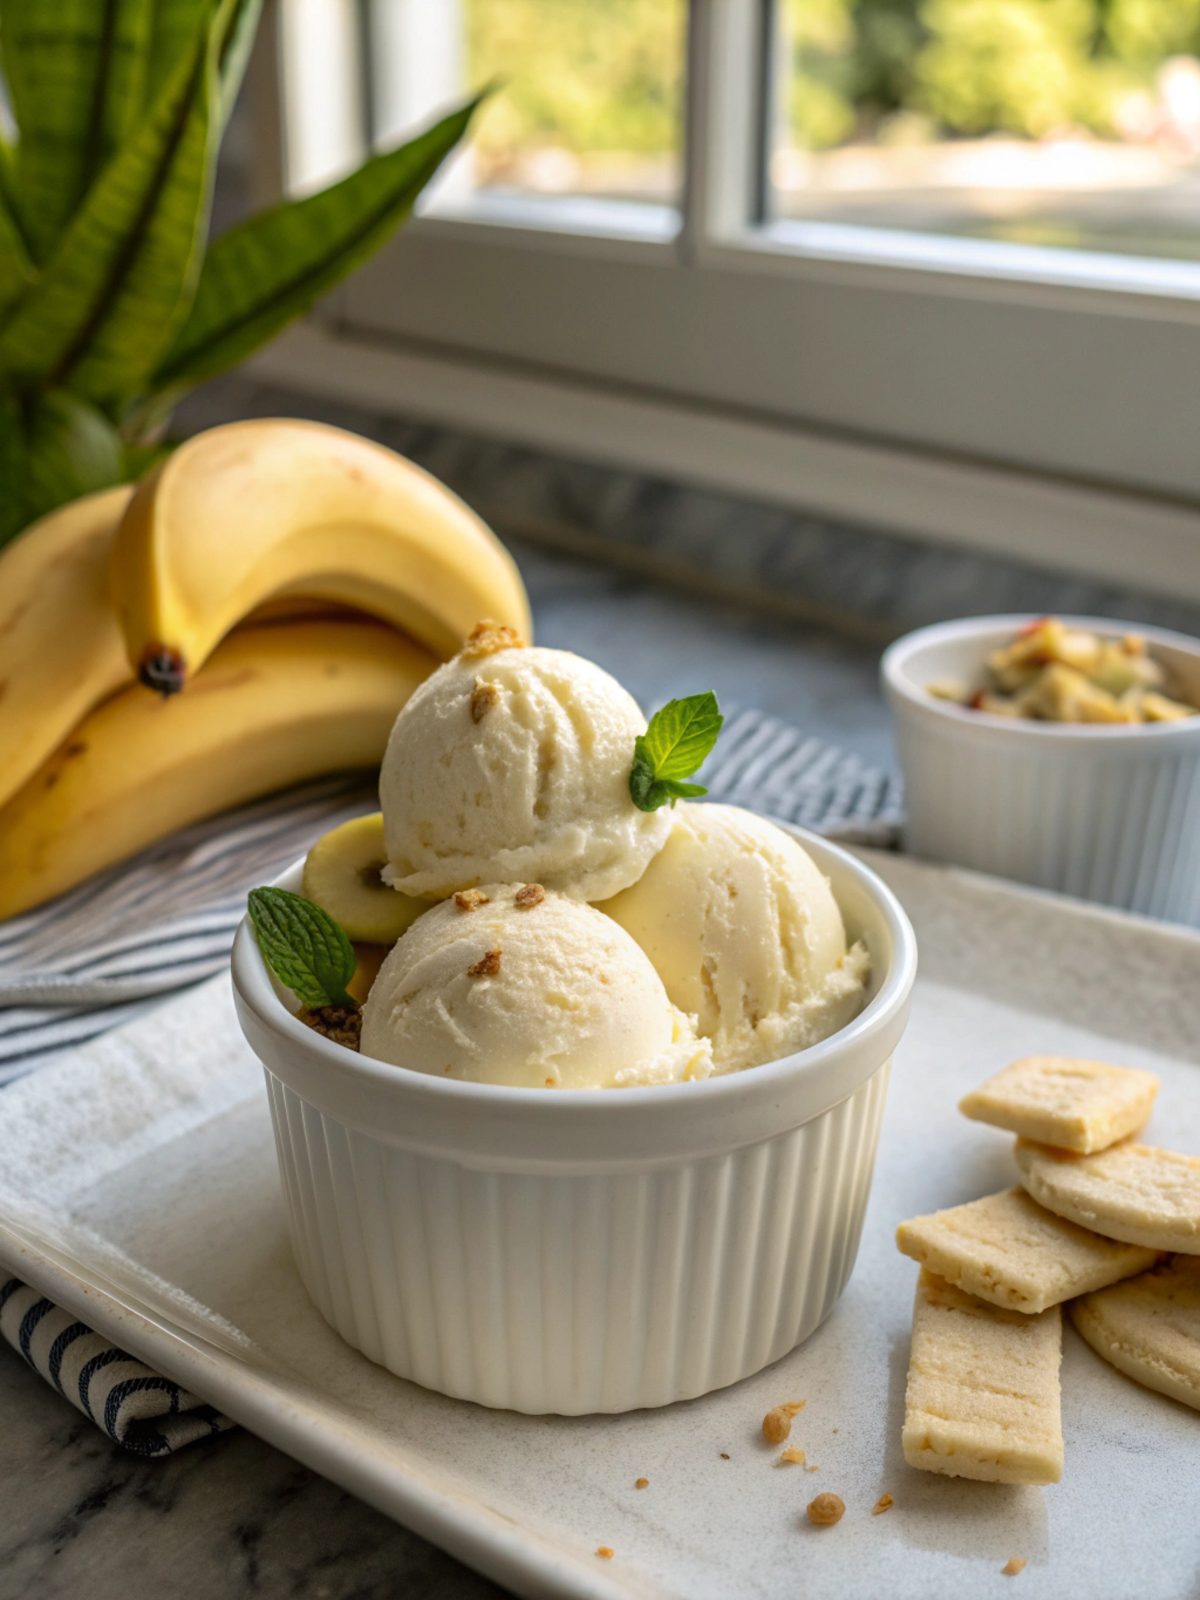
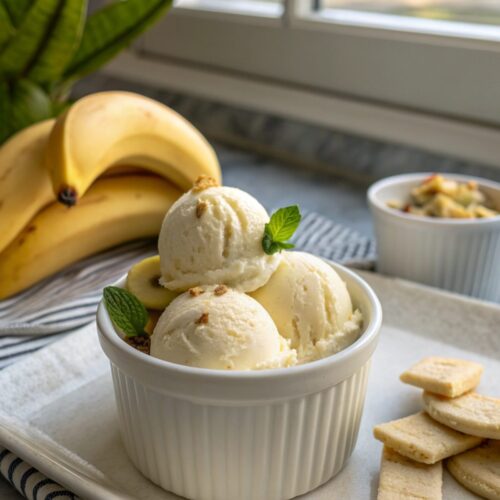
How to Serve Deliciously Creamy Ninja Creami Banana Ice Cream
Scoop the banana ice cream into bowls or cones. For an added touch of decadence, drizzle with chocolate syrup or sprinkle some chopped nuts. Serve immediately and enjoy the creamy delight with friends or family.
Recipe Success Tips & Suggestions
For that perfect texture, ensure the bananas are fully frozen before blending. If you desire a vegan version, use plant-based milk and maple syrup instead of honey. Adding fruits like strawberries or blueberries can also give a fun twist to the flavor.
Pumped-Up Protein: High Protein Ninja Creami Banana Ice Cream
If you’re on a protein kick, transform your creamy treat into a muscle-boosting delight. Simply add a scoop of your favorite protein powder to the banana blend before churning. This not only increases the nutritional value but also provides a satisfying post-workout snack.
Carb-Conscious Delight: Low Carb Ninja Creami Banana Ice Cream
Looking to cut down on carbs? Swap out the bananas for avocados to retain that creamy texture while keeping the carb count low. Sweeten with a low-carb sweetener like stevia or erythritol and adjust flavors with almond milk instead of regular milk for a keto-friendly treat.
Storage Instructions
Place any leftover ice cream in an airtight container and store it in the freezer for up to 1 week. To enjoy, let it sit at room temperature for about 10 minutes to soften slightly before scooping.
FAQs
Can I use unripe bananas? It’s best to use ripe bananas for sweetness and creaminess. Unripe bananas can result in a less sweet and more gritty texture.
What if I don’t have a Ninja Creami? You can use a regular ice cream maker, but the texture might differ slightly.
Can I add mix-ins? Absolutely! Consider adding chocolate chips or nuts just before serving for a crunch.
How to make it vegan? Swap dairy milk for almond or coconut milk, and use maple syrup or agave instead of honey.
Finishing Thoughts: Share the Sweetness!
Creating this Ninja Creami Banana Ice Cream is not just about indulging in a sweet treat; it’s a celebration of simplicity and flavor coming together. Invite your friends to try this recipe, share your pictures, or drop a comment below to let us know how yours turned out. Enjoy the sweetness!
Once Served, Always Loved: Ninja Creami Banana Ice Cream Conclusion
Deliciously Creamy Ninja Creami Banana Ice Cream
Ingredients
Main Ingredients
- ripe bananas
- whole milk
- honey
- vanilla extract
- cinnamon
Instructions
Steps
- Begin by peeling and slicing the bananas into 1-inch pieces and freeze them until solid.
- Blend frozen banana slices with milk, honey, vanilla extract, and cinnamon until smooth.
- Pour the mixture into the Ninja Creami pint container and churn with the ice cream function.
- If needed, adjust texture by re-spinning with additional milk.