Italian Easter bread is a time-honored tradition that brings family and friends together during the festive season. This aromatic, sweet, and slightly tangy bread is more than just a dessert—it’s a symbol of rebirth and renewal. Its delicate texture and vibrant colors evoke the spirit of spring, inviting you to savor every bite. Have you ever wondered how a simple loaf could capture the essence of an entire celebration?
“There’s something magical about mixing tradition with a pinch of creativity, which is exactly what makes our Italian Easter Bread so special.”
– A passionate home baker
In this article, we’ll walk you through every step of creating this festive delight. We’ll share tips, answer your most common questions, and even offer insights on how to serve your Italian Easter bread to impress your guests.
Italian Easter Bread Recipe
How to Make italian easter bread – Step By Step Picture
Ingredients
- All-purpose flour: 500g
- Sugar: 100g
- Salt: ½ tsp
- Active dry yeast: 7g
- Eggs: 3 (at room temperature)
- Milk: ½ cup
- Unsalted butter: ¼ cup (melted)
- Orange zest: From 1 orange
- Lemon zest: From 1 lemon
- Water: ½ cup (warm, adjust as needed)
- Colored eggs: 3-4 (optional, for decorating)

Equipment
- Large mixing bowl
- Stand mixer with dough hook (or a sturdy spoon and elbow grease)
- Measuring cups and spoons
- Spatula
- Baking tray lined with parchment paper
- Cooling rack

Instructions
Step 1: Warm the Milk and Butter
Begin by gently warming the milk in a small saucepan. Add the melted butter to the warm milk and stir until well combined. This step helps to activate the yeast later on and infuses the liquid with a rich flavor.

Step 2: Make the Yeast Mixture
In a small bowl, combine the warm milk-butter mixture with the active dry yeast and a teaspoon of sugar. Stir lightly and let it sit for about 5 minutes until it becomes frothy. This indicates that the yeast is alive and ready to work its magic.
Step 3: Mix the Dough
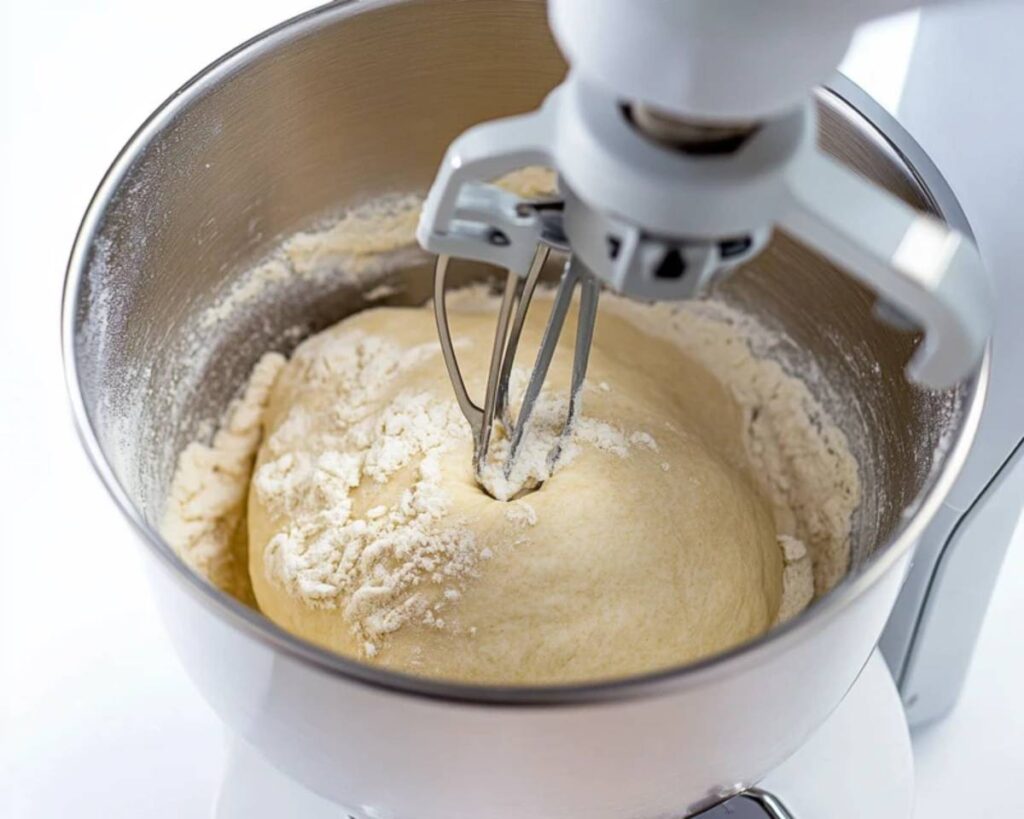
In your large mixing bowl, combine the all-purpose flour, remaining sugar, salt, and the zests of orange and lemon. Create a well in the center and pour in the yeast mixture along with the eggs. Mix gently until the dough begins to form.
Step 4: Add More Flour
Gradually add more flour as needed to achieve a soft yet slightly sticky dough. This gradual incorporation ensures that you don’t add too much flour at once, which can make the bread dense.

Step 5: Knead the Dough by Hand
Transfer the dough onto a lightly floured surface and knead it by hand for about 10 minutes. If you’re using a stand mixer with a dough hook, knead for 7–8 minutes. You’re looking for a smooth, elastic dough that holds its shape well.
Step 6: Rest the Dough
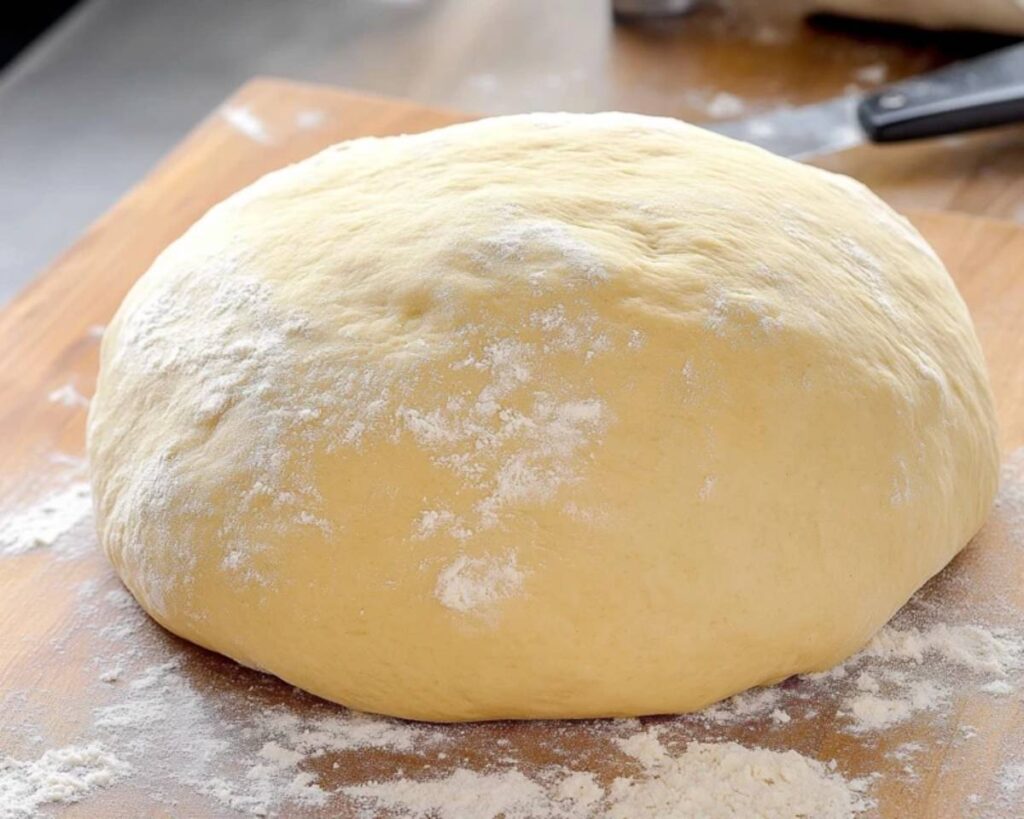
Place the dough back in the bowl, cover it with a clean kitchen towel, and let it rest for 1 hour in a warm spot. This resting phase allows the dough to rise and develop that delightful airy texture.
Step 7: Roll the Dough
After the dough has doubled in size, gently roll it out onto a lightly floured surface. The rolling process is crucial—it gives you the chance to shape your bread into its iconic form.
Step 8: Shape the Dough
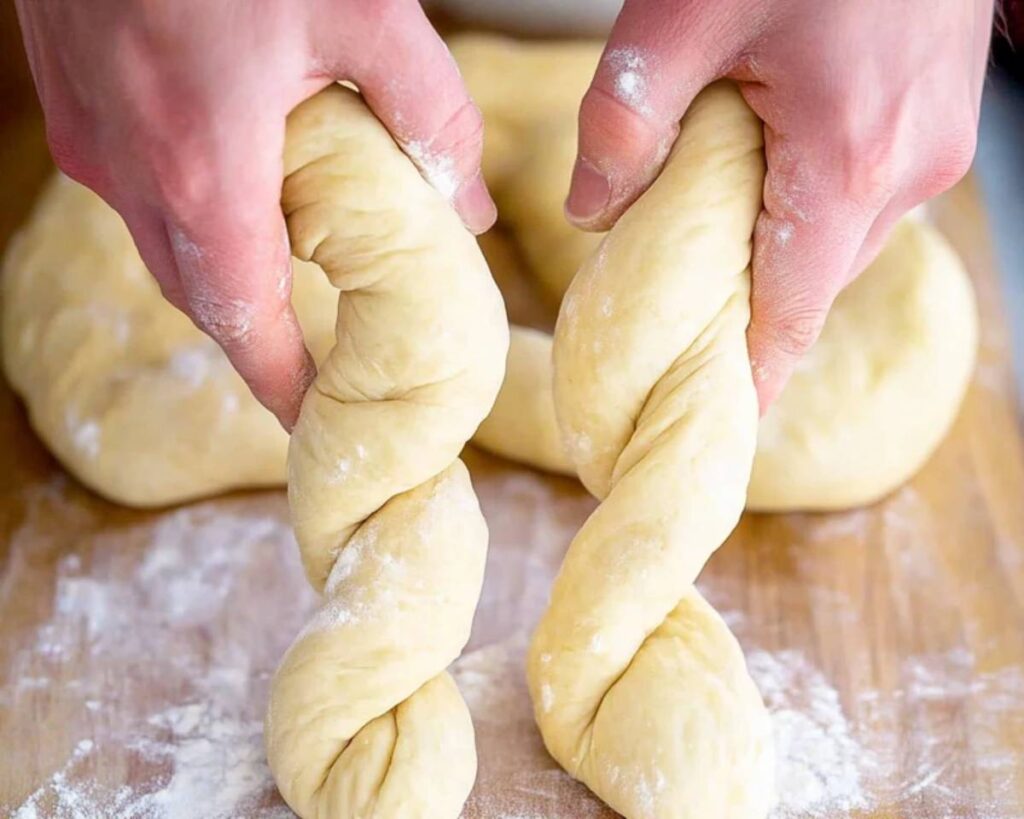
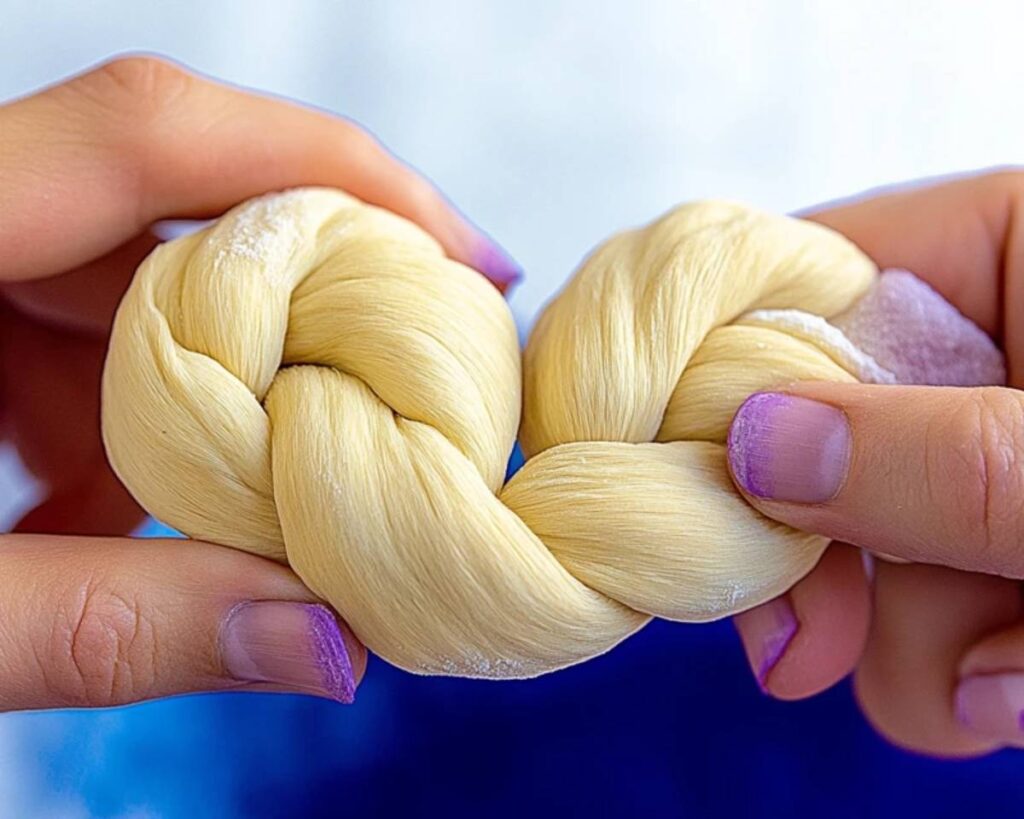
Shape the dough into a ring or braid it into a traditional loaf. When braiding, twist the strands together carefully, ensuring that the ends are pinched securely to hold the design together. This step is not only functional but also adds an artisanal touch.
Step 9: Let the Dough Rise
After shaping, allow the dough to rise for an additional 30 minutes. This second rise is essential for a light, fluffy texture and enhances the overall flavor profile of the bread.
Step 10: Heat the Oven
Preheat your oven to 375°F (190°C). A properly heated oven ensures that your bread bakes evenly and develops a beautiful golden crust.
Step 11: Brush with Egg Wash
Before placing the dough in the oven, brush the top gently with an egg wash made from one beaten egg. This gives the bread a glossy finish and a deeper color as it bakes.
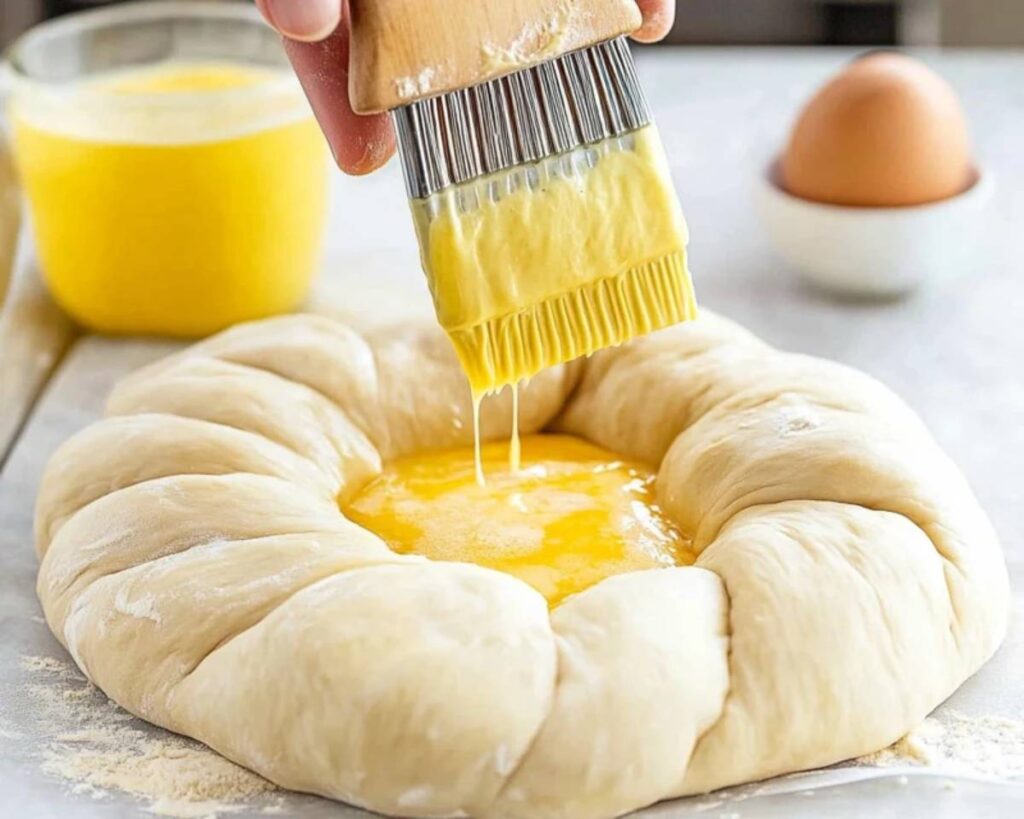
Step 12: Bake
Place your shaped dough on the prepared baking tray and bake for 25–30 minutes or until the crust turns a lovely golden brown. Once baked, remove from the oven and allow it to cool on a rack before serving.

“Baking isn’t just a science—it’s an art that invites you to be creative while honoring timeless traditions.”
– An experienced Italian baker
How to Serve italian easter bread
Italian Easter Bread is best enjoyed fresh from the oven. Serve it as part of your festive breakfast or brunch, accompanied by a rich cup of coffee or a light herbal tea. For a more traditional approach, slice the bread and enjoy it alongside a spread of sweet jams or honey. Its versatility makes it an excellent pairing with both savory and sweet accompaniments. Why not experiment with different spreads or even a dusting of powdered sugar for that extra special touch?

Tips For Best Experience with Italian Easter Bread
- Freshness is Key: Enjoy the bread on the same day for the best texture and flavor.
- Storage: If you have leftovers, store them in an airtight container to maintain moisture.
- Customization: Add a personal twist by mixing in chopped nuts or candied fruit.
- Serving Suggestion: Warm slices slightly in the oven before serving to revive the aroma and softness.
FAQS
Can I make Italian Easter Bread ahead of time?
A: Yes, you can make the dough ahead of time and let it rise slowly in the refrigerator overnight. Just bring it back to room temperature before baking.
Is it necessary to use colored eggs?
A: No, colored eggs are optional. They add a festive look, but you can omit them if you prefer a more classic presentation.
What if my dough is too sticky?
A: Don’t worry! Gradually add more flour during the kneading process until it becomes smooth and manageable.
Can I use a stand mixer instead of kneading by hand?
A: Absolutely! A stand mixer with a dough hook will work perfectly, reducing the effort while ensuring a well-developed gluten structure.
Final Thought
Italian Easter Bread is more than just a recipe—it’s a celebration of life, tradition, and the joy of sharing homemade delights with those you love. From its humble ingredients to the elaborate process of kneading and shaping, every step reflects a commitment to quality and flavor. Whether you’re a seasoned baker or a curious beginner, this recipe invites you to explore the art of bread-making with passion and creativity. So, why not give it a try this Easter and bring a slice of Italy to your table?

Italian Easter Bread
Equipment
- Large mixing bowl
- – Small saucepan
- Measuring cups and spoons
- – Whisk
- – Stand mixer with dough hook (or a sturdy spoon and hands for kneading)
- Rolling Pin
- – Baking tray lined with parchment paper
- Cooling rack
Ingredients
- ingredients =
- – 500g all-purpose flour
- – 100g sugar
- – ½ tsp salt
- – 7g active dry yeast
- – 3 eggs at room temperature
- – ½ cup milk
- – ¼ cup unsalted butter melted
- – Zest of 1 orange
- – Zest of 1 lemon
- – ½ cup warm water adjust as needed
- – 3-4 colored eggs optional, for decorating
Instructions
- Step 1: Warm the milk in a small saucepan over low heat. Stir in the melted butter until well combined.
- Step 2: In a separate bowl, combine the warm milk-butter mixture with the active dry yeast and 1 teaspoon of sugar. Let it sit for about 5 minutes until frothy.
- Step 3: In a large mixing bowl, whisk together the flour, remaining sugar, salt, orange zest, and lemon zest. Make a well in the center.
- Step 4: Pour the yeast mixture and eggs into the flour mixture. Stir gently until a dough begins to form.
- Step 5: Gradually add extra flour as needed to create a soft, slightly sticky dough.
- Step 6: Transfer the dough onto a lightly floured surface and knead by hand for about 10 minutes (or 7-8 minutes using a stand mixer with a dough hook) until smooth and elastic.
- Step 7: Place the kneaded dough back into the bowl, cover with a clean kitchen towel, and let it rest in a warm spot for 1 hour, or until doubled in size.
- Step 8: Once risen, roll the dough out onto a lightly floured surface. Shape it into a ring or braid it into a traditional loaf.
- Step 9: Allow the shaped dough to rise for an additional 30 minutes to enhance its light and airy texture.
- Step 10: Preheat your oven to 375°F (190°C).
- Step 11: Brush the top of the dough gently with an egg wash (one beaten egg) for a glossy finish.
- Step 12: Bake in the preheated oven for 25–30 minutes, or until the crust turns a beautiful golden brown.
- Step 13: Remove the bread from the oven and let it cool on a rack before serving.

