
Have you ever cracked into the caramelized top of a crème brûlée and wondered, “How do they get it so perfect?” Well, you’re not alone! This iconic dessert is a blend of simple ingredients and a touch of magic. Whether you’re a dessert enthusiast or just curious, this guide will take you through everything you need to know to master crème brûlée.
Let’s dive into the world of this luxurious, silky dessert and uncover its secrets. But first, a little background, shall we?
Introduction: The Allure of Crème Brûlée
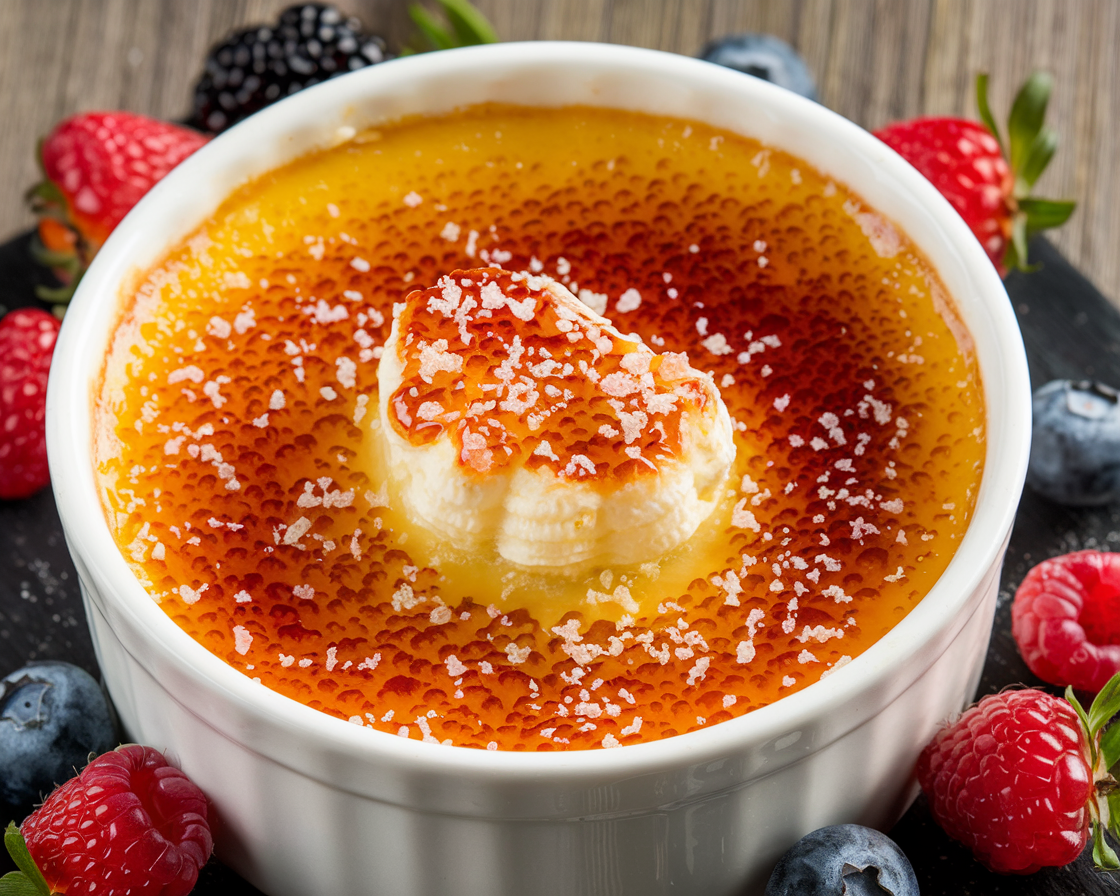
Crème brûlée is one of those desserts that feels like pure indulgence. The contrast between the crackling caramelized sugar on top and the creamy custard below is pure bliss. But what makes it so special? It’s simple ingredients combined in a way that feels like a little culinary magic trick.
Many people think it’s hard to make at home. Spoiler alert—it’s not! With the right tips and techniques, you’ll be cracking into your own masterpiece in no time.
A Brief History of Crème Brûlée
Did you know crème brûlée has roots in 17th-century Europe? Though the exact origin is debated, this dessert has been claimed by France, England, and Spain over the years. The French gave it the fancy name we know today, but wherever it originated, it remains a timeless classic.
Why Crème Brûlée Stands Out Among Desserts
What makes crème brûlée such a standout? It’s a perfect balance of texture and flavor. That caramelized sugar top? It’s like a glass ceiling you get to shatter (with a spoon). And the custard underneath? Smooth, rich, and oh-so-decadent.
Key Ingredients for Perfect Crème Brûlée
Now, let’s talk about what goes into this magical dessert. The beauty of crème brûlée is that it doesn’t require fancy ingredients. In fact, you probably have most of these in your kitchen right now.
Essential Dairy Choices: Cream, Milk, and Variations
The heart of crème brûlée is the cream. Heavy cream is a must—it’s what gives the custard its velvety texture. Some recipes add a splash of milk to lighten it up, but if you’re going for full decadence, stick with heavy cream.
Pro Tip: “For a lighter option, you can substitute part of the cream with whole milk. However, this might slightly compromise the rich texture.” 🥛
The Role of Egg Yolks in Achieving Silky Texture
Egg yolks are the unsung heroes here. They provide structure to the custard while keeping it luxuriously smooth. Don’t skimp on the yolks—this is not the time for egg whites to shine.
Did You Know? “Using room-temperature eggs helps the custard mix more evenly and prevents curdling.”
Sugar Selection: Choosing the Right Type
Sugar isn’t just for sweetness here; it’s the star of the caramelized top. Use granulated sugar for the custard, but when it comes to the topping, superfine sugar works best. It melts and caramelizes quickly, creating that beautiful crunchy layer.
Vanilla and Beyond: Flavoring Your Crème Brûlée
Vanilla is the classic flavor for crème brûlée. Whether you’re using vanilla beans, extract, or paste, it’s essential for that signature taste. But why stop there? You can experiment with flavors like coffee, citrus, or even lavender.
Fun Fact: “Scrape out the seeds of a vanilla bean and add the pod to your cream while heating. It adds an intense, aromatic flavor.”
🥄 Ingredients and Quantities Table
| Ingredient | Quantity |
|---|---|
| Heavy Cream | 2 cups (500ml) |
| Granulated Sugar | 1/2 cup (100g) |
| Egg Yolks | 5 large |
| Vanilla Extract | 1 tsp (or 1 bean) |
| Superfine Sugar (for top) | 4 tbsp |
Equipment You’ll Need
Before we start mixing and baking, let’s make sure you’ve got the right tools. Crème brûlée requires some specific equipment, but nothing too fancy!
Must-Have Tools: Torch, Ramekins, and Mixing Bowls
- Ramekins: These small ceramic dishes are perfect for individual servings. Choose ones that hold about 6 ounces.
- Torch: A culinary torch is essential for caramelizing the sugar. No torch? Don’t worry—we’ll cover an alternative.
- Mixing Bowls: You’ll need a few sturdy bowls for whisking your custard together.
Optional Gadgets for Mastery
If you want to take things up a notch, consider these:
- Fine Mesh Strainer: Ensures your custard is silky smooth by removing any lumps.
- Kitchen Scale: For precise measurements—it’s always a good idea when baking or making desserts.
Block Quote:
“Cooking crème brûlée is like painting—your ingredients are the colors, and your tools are the brushes. Together, they create a masterpiece.”
Next up, we’ll explore the process of making crème brûlée step by step, along with troubleshooting common problems. Are you ready to unlock the magic? Let me know, and we’ll continue to the next part!
The Step-by-Step Process to Make Crème Brûlée
Making crème brûlée at home is easier than you think. Let’s break it down step by step so you can confidently create this decadent dessert.
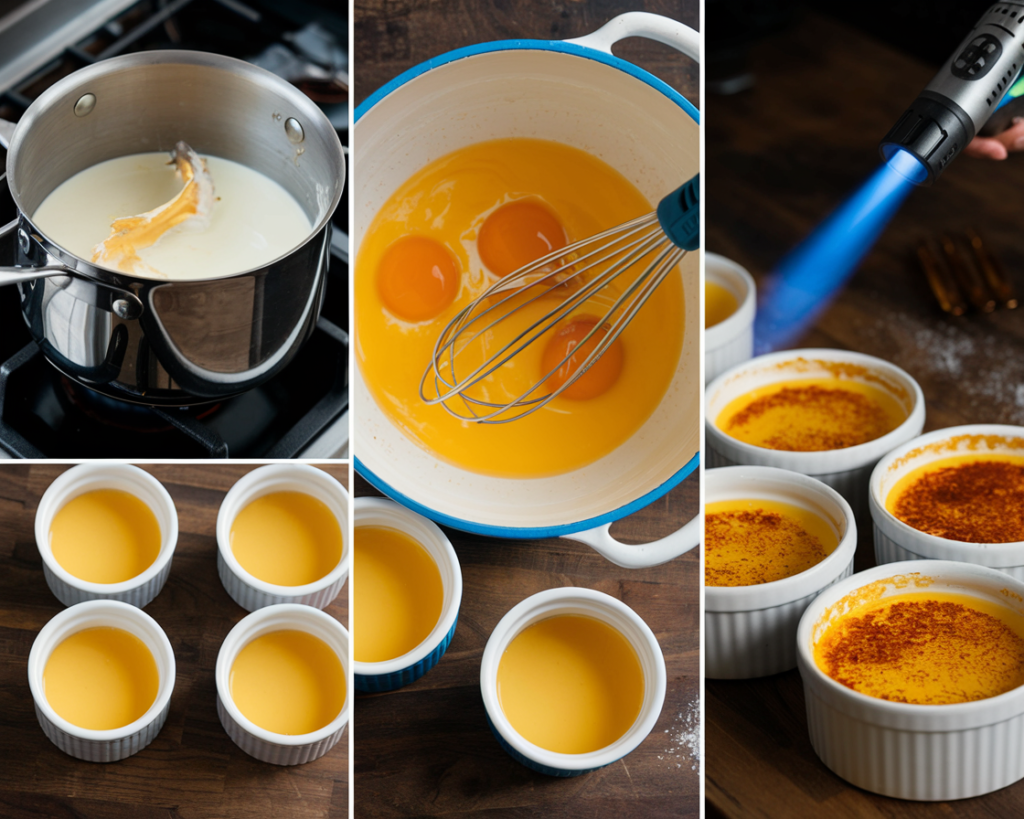
Preparing the Custard: Mixing and Heating
- Heat the Cream: In a saucepan, gently heat the heavy cream over medium heat until it’s warm but not boiling. If you’re using a vanilla bean, split it, scrape out the seeds, and add both the seeds and pod to the cream. This infuses the cream with rich vanilla flavor.
- Whisk the Yolks and Sugar: In a mixing bowl, whisk the egg yolks and granulated sugar together until the mixture becomes pale yellow and thick. This step ensures the sugar dissolves properly.
- Combine Cream and Yolks: Slowly pour the warm cream into the yolk mixture while whisking continuously. This prevents the eggs from scrambling—a process called tempering. Strain the mixture through a fine mesh strainer to remove any lumps or impurities.
- Add Flavor: If you’re using vanilla extract or other flavorings, stir them in at this stage.
Pro Tip: “Be patient when tempering the yolks. Pouring the cream too quickly can turn your custard into scrambled eggs!”
Achieving the Perfect Bake: Water Bath Tips
The water bath (or bain-marie) is the secret to baking crème brûlée evenly and gently. Here’s how to do it:
- Preheat the Oven: Set your oven to 325°F (160°C).
- Prepare the Ramekins: Divide the custard mixture evenly among your ramekins.
- Set Up the Water Bath: Place the ramekins in a deep baking dish and pour hot water into the dish until it reaches halfway up the sides of the ramekins. The water prevents the custard from cooking too quickly or unevenly.
- Bake: Bake for 35–40 minutes, or until the custard is set but still slightly jiggly in the center.
Did You Know? “The water bath works like a safety net, ensuring your custard cooks slowly and retains its creamy texture.”
The Art of Caramelization: How to Use a Torch or Broiler
Now comes the fun part—creating that crunchy caramelized top!
- Cool the Custard: Once baked, let the custards cool to room temperature, then refrigerate them for at least 2 hours (or overnight).
- Add Sugar: Sprinkle a thin, even layer of superfine sugar on top of each custard.
- Torch It: Use a culinary torch to caramelize the sugar. Move the flame in small circles to ensure even caramelization.
- No Torch? Use the Broiler: Place the ramekins under a broiler on high heat for 2–3 minutes. Keep a close eye to avoid burning.
Block Quote:
“Cracking into the caramelized top is like unwrapping a delicious little gift. The reward? Creamy, dreamy custard below.”
Common Problems When Making Crème Brûlée and Their Solutions
Even with the best efforts, things can sometimes go wrong. Let’s tackle the most common issues and how to fix them.
Problem: Grainy or Overcooked Custard
- Cause: The custard was overbaked or cooked at too high a temperature.
- Solution: Always bake in a water bath and check the custard regularly. It should jiggle slightly when done.
Problem: Undercooked or Watery Texture
- Cause: The custard wasn’t baked long enough or the oven temperature was too low.
- Solution: Use an oven thermometer to ensure accuracy and bake until the edges are set but the center is slightly wobbly.
Problem: Uneven Caramelization
- Cause: Uneven sugar distribution or improper torching technique.
- Solution: Spread the sugar evenly and hold the torch at a consistent distance, moving it in small, controlled circles.
Problem: Cracked or Broken Custard
- Cause: The custard was cooled too quickly or overhandled.
- Solution: Allow the custard to cool slowly at room temperature before refrigerating.
🥄 Nutrition Facts Table (Per Serving)
| Nutrient | Amount |
|---|---|
| Calories | 320 |
| Fat | 24g |
| Carbohydrates | 22g |
| Protein | 5g |
| Cholesterol | 210mg |
| Sodium | 50mg |
Stay tuned for the next part, where we’ll dive into creative variations, serving ideas, and frequently asked questions about this iconic dessert. Let me know when you’re ready to continue!
Variations of Crème Brûlée to Try
The classic vanilla crème brûlée is a timeless favorite, but why stop there? Let your imagination run wild with these creative twists on the traditional recipe.
Classic Vanilla Crème Brûlée
The original that started it all! Infuse your custard with the seeds of a vanilla bean or a high-quality vanilla extract. This version is perfect for first-timers and purists alike.
Chocolate Infused Crème Brûlée
Calling all chocolate lovers! Add melted dark chocolate to your custard mixture before baking for a rich and indulgent twist. Pair it with a dusting of cocoa powder or a sprinkle of sea salt for added depth.
Pro Tip: “Use high-quality dark chocolate with at least 70% cocoa for the best results.”
Citrus and Fruit-Infused Crème Brûlée
Brighten up your crème brûlée with citrus zest or fresh fruit! Lemon, orange, or grapefruit zest can be added to the cream, while fresh berries make an excellent topping.
- Lemon Crème Brûlée: Add the zest of one lemon for a refreshing flavor.
- Raspberry Topped Crème Brûlée: Layer fresh raspberries under the custard before baking.
Exotic Flavors: Lavender, Matcha, and More
Experiment with unique flavors like lavender, matcha, or even spices like cinnamon and cardamom.
- Lavender Crème Brûlée: Steep dried lavender buds in the cream for a floral aroma.
- Matcha Crème Brûlée: Mix in a teaspoon of matcha powder for an earthy, vibrant green custard.
Savory Twist: Crab Brûlée
For an innovative take, try our Crab Brûlée Recipe: Luxurious and Easy to Make. This savory version combines the delicate sweetness of crab with the creamy texture of traditional crème brûlée, offering a delightful appetizer option.
Block Quote:
“Crème brûlée is like a blank canvas—add your favorite flavors and let your creativity shine!”
How to Serve and Present Crème Brûlée
Presentation is everything when it comes to crème brûlée. Here’s how to make your dessert look as good as it tastes.
Choosing the Right Serving Dishes
Ramekins are the traditional choice for crème brûlée. Opt for shallow dishes to maximize the surface area for caramelization. Fancy glass jars or mini cocottes can also make a striking presentation.
Garnishing Ideas to Impress
- Fresh Fruit: Top with berries, sliced kiwi, or pomegranate seeds for a pop of color.
- Edible Flowers: Add a touch of elegance with edible blooms like pansies or violets.
- Dust of Powdered Sugar or Cocoa: For a simple, refined look.
Pro Tip: “A small sprig of mint adds both visual appeal and a refreshing aroma.”
Frequently Asked Questions About Crème Brûlée
Even seasoned cooks have questions about crème brûlée. Here are the answers to some common queries.
Can You Make Crème Brûlée Without a Torch?
Yes! If you don’t have a torch, you can caramelize the sugar under a broiler. Place the ramekins on the top rack of your oven and keep a close eye to avoid burning.
How to Store and Reheat Crème Brûlée
- Storage: Cover the ramekins with plastic wrap and refrigerate for up to 3 days. Add the sugar topping and caramelize just before serving.
- Reheating: Crème brûlée is best served chilled, so there’s no need to reheat. Simply caramelize the top and enjoy!
🥄 FAQs Table
| Question | Answer |
|---|---|
| Can I use half-and-half instead of cream? | Yes, but it may result in a less rich texture. |
| What’s the best sugar for caramelizing? | Superfine sugar melts and caramelizes evenly for the best results. |
| How do I fix a runny custard? | Ensure proper baking time and temperature. Refrigerate to set. |
Conclusion: Mastering the Secret to Crème Brûlée
There you have it—the ultimate guide to mastering crème brûlée! From understanding its history and perfecting the classic recipe to exploring creative variations