
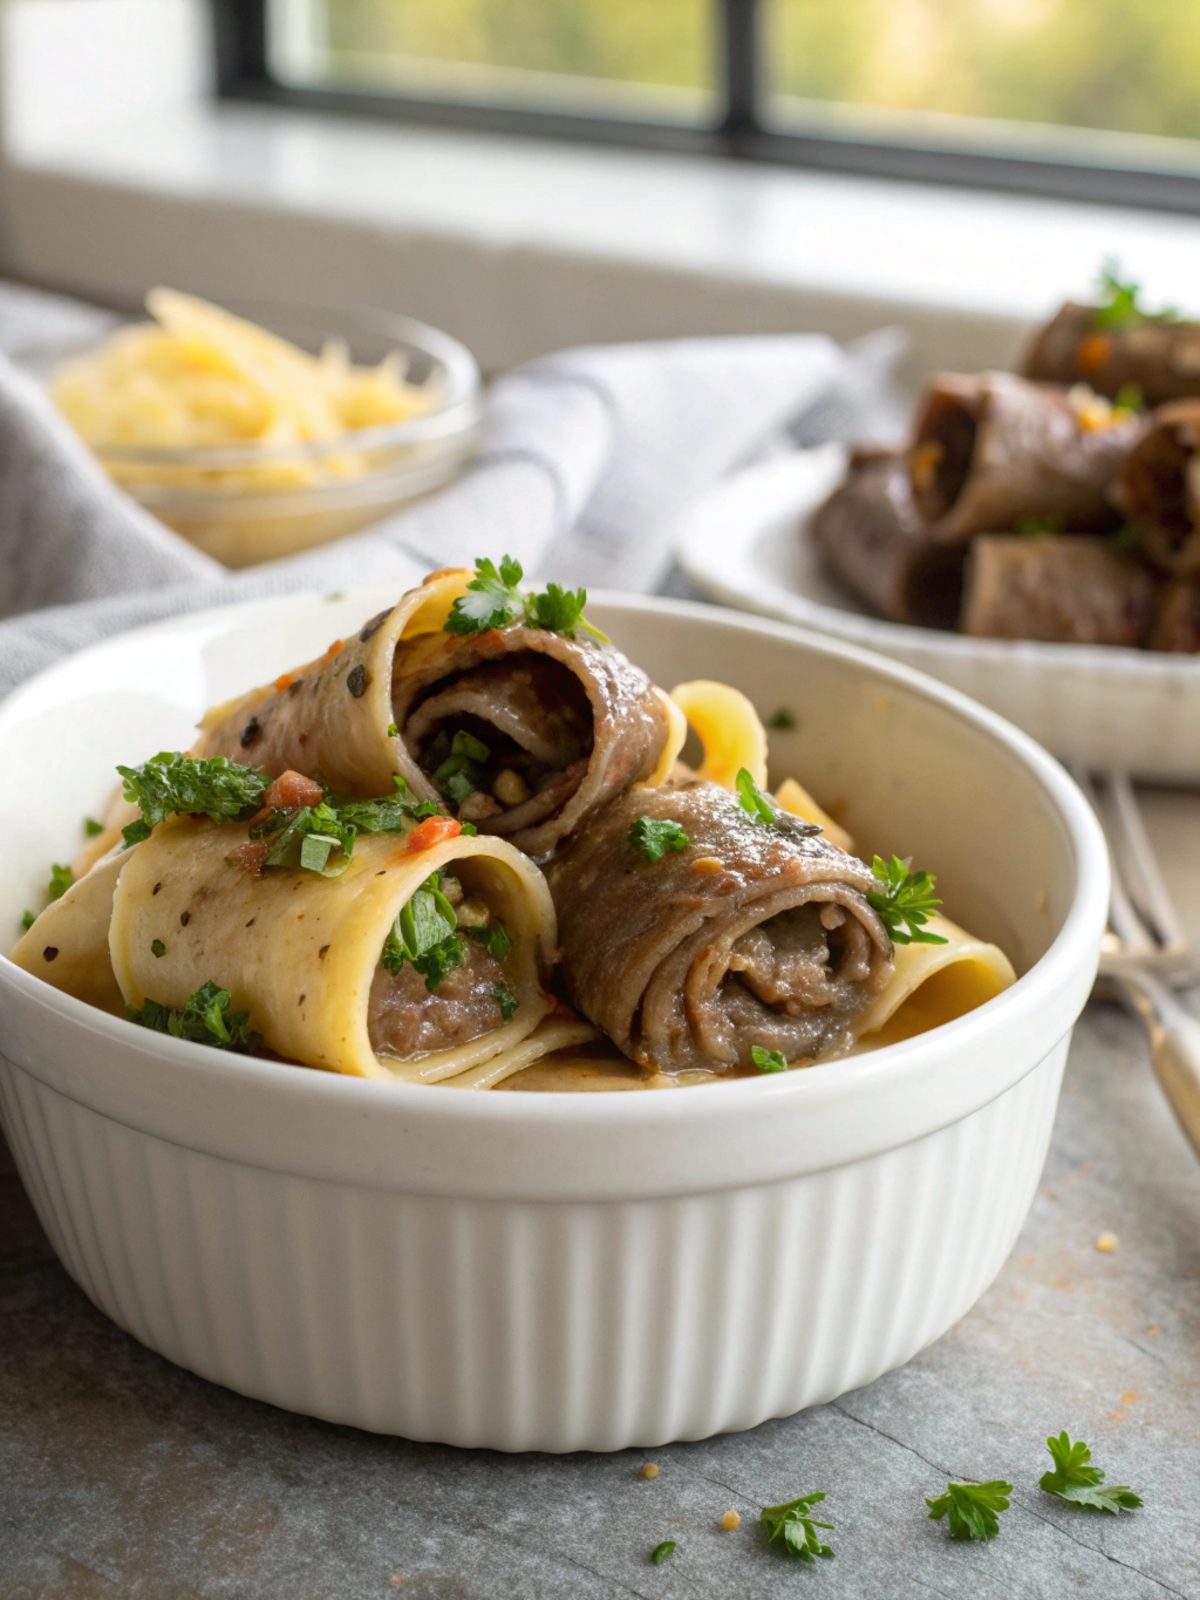
Welcome to the wonderful world of garlic butter beef rollups, where luscious flavors wrapped in savory goodness await in every bite. This recipe combines tender beef slices with a creamy garlic butter filling, resulting in a dinner dish that’s sure to impress. Whether you’re hosting a dinner party or looking for a comforting family meal, these rollups will quickly become a favorite. Let’s dive into this delicious recipe!
Ingredients
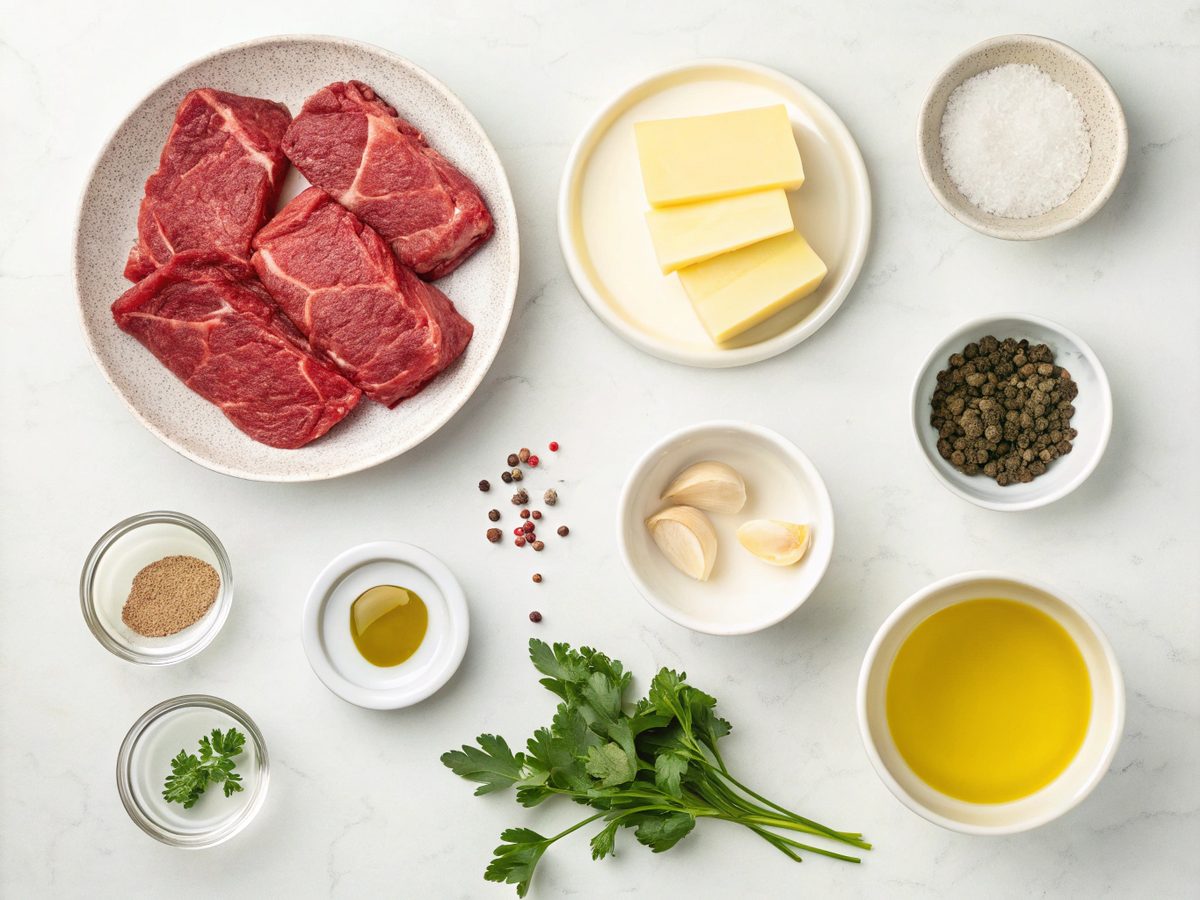
For this recipe, you will need:
- 8 thin beef sirloin slices
- 4 tablespoons unsalted butter
- 4 cloves garlic, minced
- 1 tablespoon fresh parsley, chopped
- Salt and pepper to taste
- Olive oil for frying
- ½ cup beef broth
- 1 tablespoon lemon juice
Equipments
To make these mouthwatering garlic butter beef rollups, you need the following tools:
- Large frying pan or skillet
- Meat tenderizer
- Spoon or spatula
- Toothpicks
How to Make Garlic Butter Beef Rollups – Step By Step
Step 1: Prepare the Beef Slices
Start by laying out the beef slices on a clean surface or cutting board. Using a meat tenderizer, gently pound each slice to ensure they are uniform in thickness, which helps them cook evenly. Sprinkle a dash of salt and pepper over both sides to season the beef before the next step.
Step 2: Prepare the Garlic Butter Mixture
In a small saucepan, over low heat, melt the butter until it becomes liquid. Add minced garlic then stir in the parsley. Allow the mixture to cook gently until the garlic becomes fragrant. This aromatic combination will serve as the flavorful filling for your beef rollups.
Step 3: Roll the Beef Slices
Take a seasoned beef slice and spread a spoonful of the garlic butter mixture over it evenly. Starting from one end, roll the beef slice towards the other, securing it with a toothpick to maintain the roll shape during cooking. Repeat this process for all the beef slices until you have prepared all your rollups.
Step 4: Cook the Beef Rollups
Heat olive oil in a large frying pan over medium heat. Once the oil is hot, place the rollups in the pan carefully. Cook each side for about 3-4 minutes, ensuring they brown evenly on all sides for a rich golden crust. Add beef broth to the pan and half a tablespoon of lemon juice to deglaze, allowing the flavors to blend beautifully.
Step 5: Let Simmer and Serve
Reduce the heat to low and let the beef rollups simmer in the pan for an additional 3-5 minutes. This simmering step ensures all flavors are thoroughly infused. Once done, remove the toothpicks, place the rollups on a serving plate with the drizzled sauce, and garnish with extra parsley for a fresh finish.
How to Serve Garlic Butter Beef Rollups
These garlic butter beef rollups pair perfectly with a side of roasted veggies or mashed potatoes. To elevate presentation, add a sprinkle of fresh herbs on top before serving. They’re a delightful dish for both family mealtime and special occasions, bringing joy with every delicious morsel.
Recipe Success Tips & Suggestions
For the best result, use high-quality beef slices to ensure each bite is tender and flavorful. Consider experimenting with fillings by adding thin slices of cheese or spinach inside the rollup. Don’t skip on the garlic unless necessary; it’s the star that really elevates this dish.
Packed with Protein: The Power-Packed Garlic Butter Beef Rollup
This high-protein version of garlic butter beef rollups includes a secret supercharge: stuffing the rollups with quinoa before cooking. Quinoa not only adds texture, but it also elevates the protein content, making each roll not just delicious but also satisfying for those looking to meet their dietary protein goals.
Add a mix of quinoa and bell peppers for extra flavor and crunch, transforming this rollup into a wholesome meal worthy of any high-protein diet. Perfect for post-workout recovery or simply to start or end the day with delicious nutrients.
Low-Carb Delight: Savor More with Less Carbs
For those on a low-carb journey, these garlic butter beef rollups can be adapted easily. Instead of traditional beef broth, use a low-carb broth to minimize carb intake. Combine sautéed mushrooms within the beef rollups for a flavorful twist that adds umami without adding significant carbs.
These robust flavors create an exciting taste adventure while aligning with low-carb requirements, ensuring your meal is both delicious and diet-friendly.
Storage Instructions
To store any leftover garlic butter beef rollups, place them in an airtight container and refrigerate for up to 3 days. Reheat gently in a microwave or on a stovetop before serving. These rollups are not recommended for freezing, as the texture could be affected upon thawing.
FAQs
- Can I prepare the beef rollups ahead of time?
Yes, you can prepare and refrigerate them for up to 24 hours before cooking. - What side dishes pair well with this recipe?
Roasted vegetables, creamy mashed potatoes, or a simple salad complement the flavors beautifully. - Is there a substitute for butter in this recipe?
If you’re avoiding dairy, try using olive oil or a vegan butter alternative. - How do I ensure the beef rollups remain intact without toothpicks?
Rolling tightly and placing seam-side down in the pan usually keeps them intact.
Final Thoughts: Share, Savor, and Enjoy
Ready to tantalize your taste buds with these scrumptious garlic butter beef rollups? Give them a try, and don’t forget to share this recipe with friends and family. We’d love to hear your feedback, so leave a comment and let us know how your culinary adventure turned out!
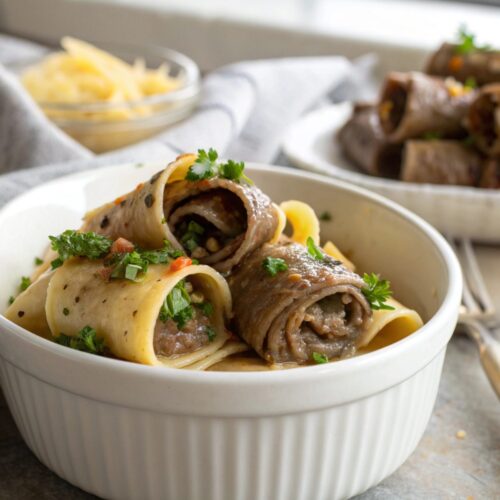
Garlic Butter Beef Rollups
Ingredients
Main Ingredients
- beef sirloin slices
- unsalted butter
- garlic minced
- fresh parsley chopped
- salt and pepper
- olive oil
- beef broth
- lemon juice
Instructions
Steps
- Prepare beef slices by tenderizing and seasoning with salt and pepper.
- Create garlic butter mixture with melted butter, minced garlic, and parsley.
- Spread garlic butter on beef slices, roll tightly, and secure with toothpicks.
- Sear rollups in a frying pan with olive oil until evenly browned.
- Add beef broth and lemon juice, simmer on low heat for enhanced flavor.
- Serve hot, garnishing with extra parsley, and enjoy your dish!